
09: Coding Movement with VEXCode
- Points possible
- 10
 Learning Target
- Create a VEXcode blocks project
- Write code for a robot that completes a specific task
 Resources
 Instructions
Step 1:
Use this link to access our Premium license for VEXcode VR:
https://vr.vex.com?classcode=ZZCZRA
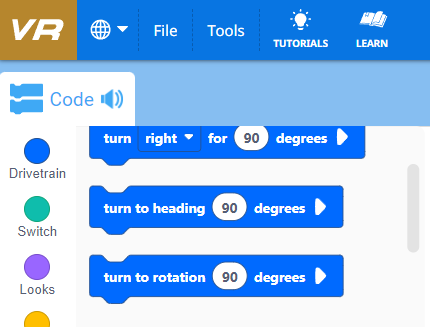
You should see a gold VR icon (NOT red) in the top corner of the screen if you have enabled the premium features:
Step 2:
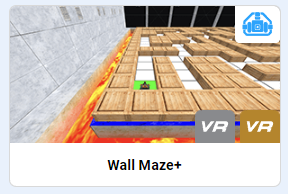
Click the "Select Playground" button.

Choose the Wall Maze+ playground.
Step 3:
Rename your project. Always give your projects a unique name that is easy to identify. This prevents overwriting your other projects by mistake.
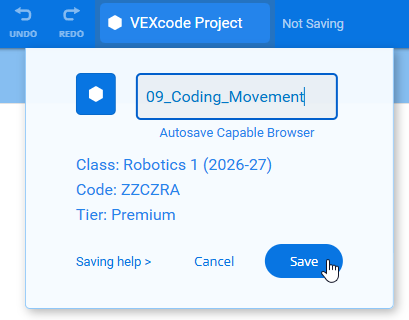
I've used the name "09_Coding_Movement" in this example.
Step 4:
Add blocks to your workspace to make the robot move through the maze. Your goal is to reach the red square.
Step 5:
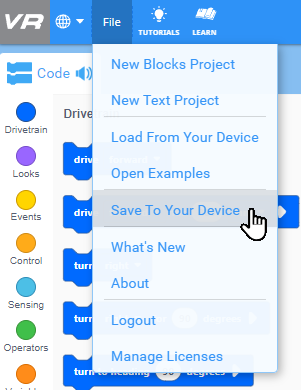
If you skipped step 3, you should do it before saving! Save your project to your H drive so that you can access it later.
Ask a neighbor or the teacher for help if you can't find your H drive. It is the drive beginning with your last name.
Step 6:
Arrange the playground window so you can see both of these:
-
- your code blocks
- your robot at its final position
For example:
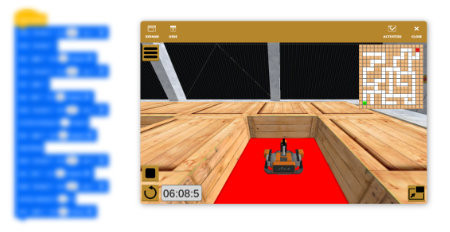
Take a screenshot of your code and playground and submit it to this assignment.
SCREENSHOT HOW-TO:
- Hold down the Windows and Shift keys, then press S: ⊞ + Shift + S
- Drag a box around what you want to capture.
- Click the notification that pops up at lower right.
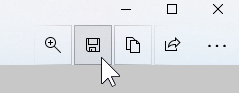
- Save your screenshot using the Save As icon:
Step 6:
Save your project to your H: drive. This is the drive with your username.
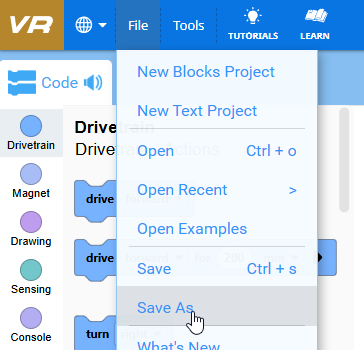
Avoid saving to the local computer (Downloads, Documents, etc).
These files are not backed up and may be lost or deleted.
🎈 CHALLENGE! (Extra Credit) 🎈
Click the pancake button to open the menu (unless it is already open).
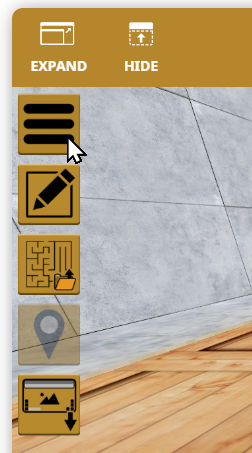
Click the Edit button.

Create your own maze.
-
- Click boxes to change the color.
- Keep clicking to change to green or red
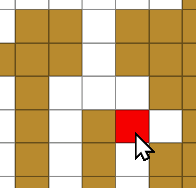
Save your maze!

Try out your maze!

If you ever close out of your maze, you can reopen it using the Load button

- Make a submission